How to Repair a Car with Squeaky Brake Pads: A Step-by-Step Guide
Have you ever been driving along and suddenly heard that dreaded high-pitched squeak when you apply the brakes? If you've experienced this, you're not alone. A squeaky brake pad can be one of the most annoying sounds when driving, but it’s also a clear sign that something is wrong with your braking system. As a car owner, I know how frustrating it can be, especially when you're unsure whether it's a minor issue or something that could lead to bigger, more expensive repairs down the line.
Over the years, I've learned a lot about brake pad maintenance and how to fix squeaky brakes myself. In this guide, I'll share my experience and walk you through the steps to repair squeaky brake pads, whether you’re dealing with the noise from worn-out pads, environmental factors, or something more serious. With a little bit of knowledge and elbow grease, you can restore the smooth, quiet braking performance of your vehicle.

J&J Auto Repair
2879 Lockbourne Rd, Columbus, OH 43207, USA
1. Understanding Why Your Brake Pads Squeak
Before diving into the solution, it’s important to understand why brake pads squeak in the first place. This was something I didn’t fully grasp when I first started hearing those annoying sounds, but after some research and personal experience, I discovered that there are several common reasons behind squeaky brake pads.
- Worn-Out Brake Pads: The most common cause of squeaky brakes is simply worn-out brake pads. Over time, the friction material on the pads wears down, causing the metal to make contact with the rotor. This contact creates the high-pitched squeal.
- Dust and Debris: Brake pads can also squeak if there’s a buildup of dust, dirt, or debris on the pad or rotor surface. This is more common in environments with a lot of dirt or when driving on rough terrain.
- Moisture: If you've recently driven in the rain or washed your car, moisture can cause a temporary squeak as it evaporates. This usually goes away after a few minutes of driving.
- Low-Quality Brake Pads: Another reason for squeaky brakes is the use of low-quality or cheap brake pads. These pads often contain materials that create more noise when they come into contact with the rotor.
- Glazed Brake Pads: If the brake pads have overheated and developed a glazed surface, they may squeak when used. This can happen if you've been riding the brakes too long or have been driving aggressively.
- Lack of Lubrication: The metal components in the brake system, such as the calipers and slides, need to be lubricated to function smoothly. If these parts aren’t properly lubricated, they can cause friction, leading to squeaking noises.
By understanding the cause, you can determine the best approach to fix the issue. Let’s move on to the steps I’ve followed to address and repair squeaky brakes in my own cars.

Lopez Auto Repair
1290 W Mound St, Columbus, OH 43223, USA
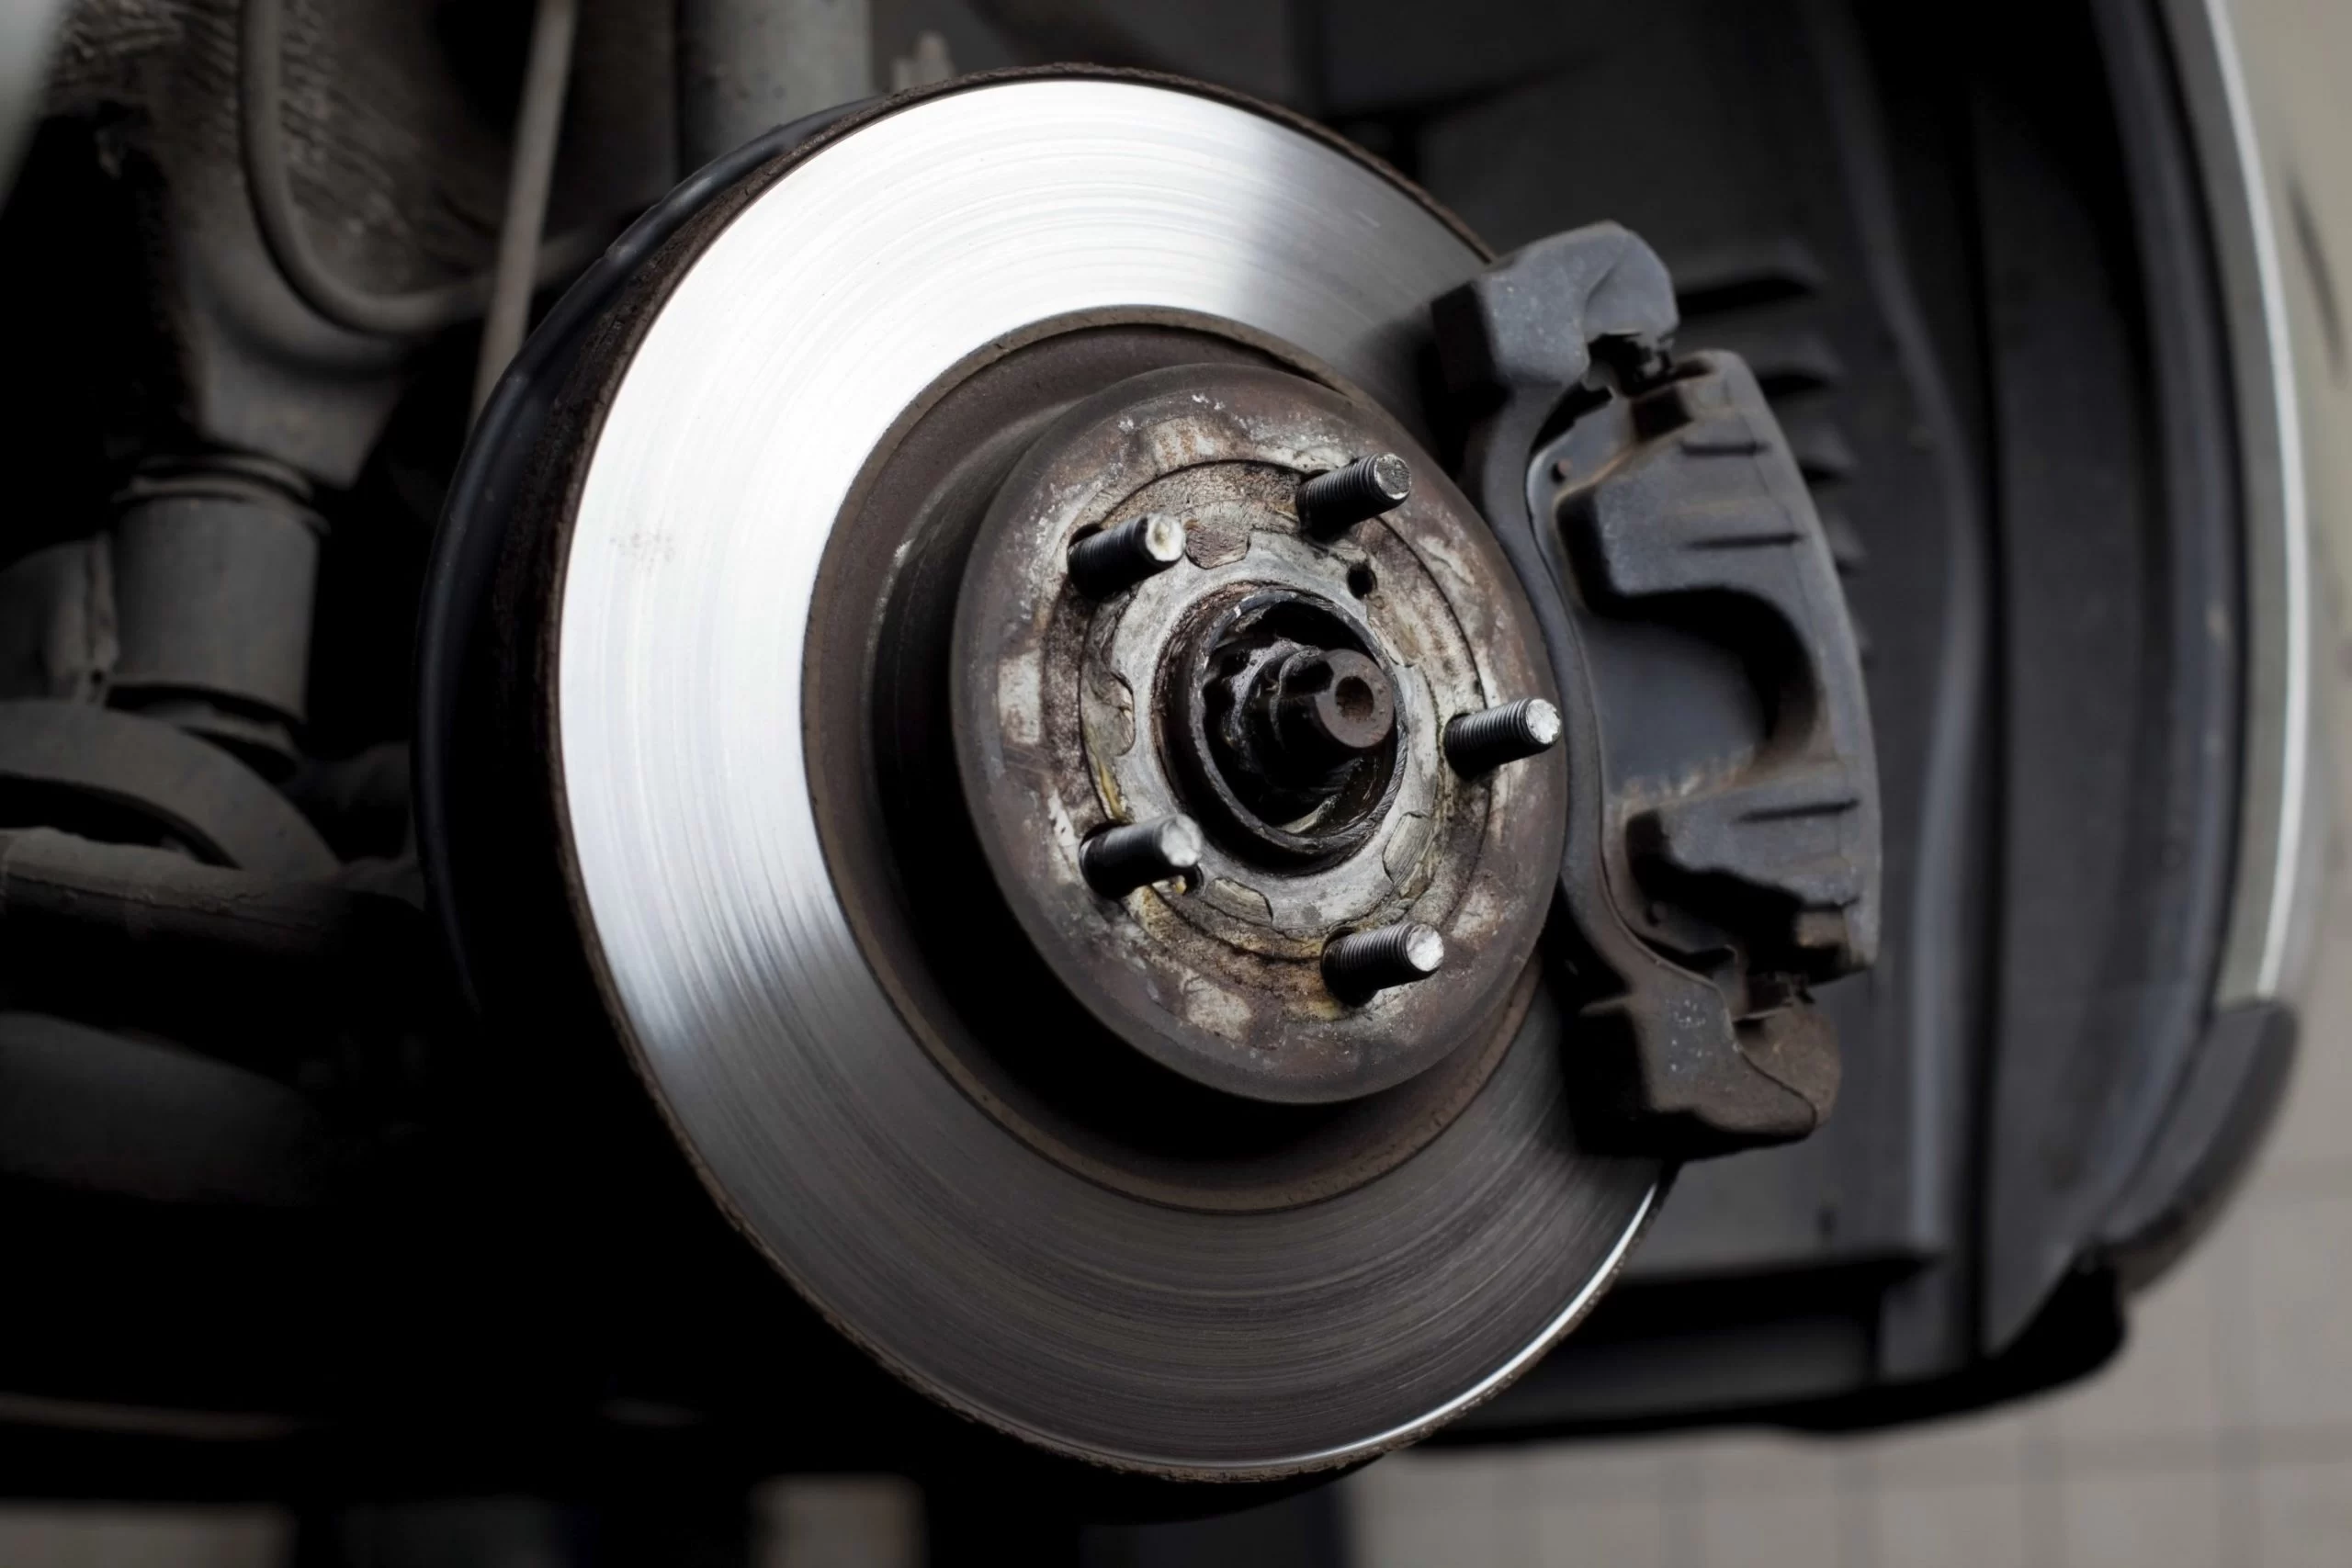
2. Inspecting the Brake Pads and Rotors
The first thing I do when I hear squeaky brakes is to inspect the brake pads and rotors. Worn-out brake pads are usually the main culprit, but it’s important to check for other issues, too. Here's how I inspect them:
- Lift the Car: First, make sure your car is on a flat surface, and use a jack to lift the vehicle. Always use jack stands for safety. If you’re unsure about how to do this, it’s best to consult your vehicle’s manual or a professional.
- Remove the Wheel: Once the car is safely lifted, use a lug wrench to remove the wheel. This will expose the brake components, including the brake pads and rotors.
- Inspect the Brake Pads: Take a close look at the brake pads. You should see a wear indicator, which is a small metal tab on the pad that makes contact with the rotor when the pad has worn down to a certain point. If the pad is less than 1/8 inch thick, it’s time to replace them. Additionally, check for uneven wear, which could indicate other issues like misalignment.
- Check the Rotors: Inspect the rotors for grooves, cracks, or visible damage. If the rotors are deeply grooved or cracked, they may need to be resurfaced or replaced.
After inspecting the pads and rotors, you’ll have a better idea of what’s causing the squeaking. If the pads are worn down or damaged, it’s time to replace them. If the rotors are the issue, you may need to have them resurfaced or replaced as well.
3. Cleaning the Brake System
If the brake pads and rotors seem to be in good condition, the next step is to clean the brake components. As I mentioned earlier, dust, debris, and moisture can all contribute to squeaky brakes. Cleaning the brake system is relatively simple and can be done with just a few tools. Here’s what I do:
- Brake Cleaner: I use a brake cleaner spray to remove any dirt, dust, and grime from the brake pads, rotors, and surrounding components. This is important because buildup on the pads or rotors can create friction and noise.
- Brush Off Excess Dirt: I also use a soft brush to gently scrub the pads and rotors, making sure to remove all visible debris. Be careful not to scratch or damage the surface of the components.
- Inspect the Calipers and Slides: While cleaning, I also check the brake calipers and slides for proper lubrication. Lack of lubrication on these parts can cause them to seize up and make noise. If necessary, I apply a small amount of brake grease to the slides and calipers.
Once the brake components are clean, I reassemble everything, put the wheel back on, and lower the car. Then, I test the brakes by slowly driving the car and gently applying the brakes. If the squeak persists, I’ll move on to the next step.
4. Replacing the Brake Pads
If cleaning the brake system doesn’t fix the squeaking, it’s likely time to replace the brake pads. Replacing the brake pads isn’t as difficult as it might sound, and I’ve done it a few times myself. Here’s the general process I follow:
- Remove the Old Pads: After removing the wheel and inspecting the brake components, I use a wrench to remove the bolts that secure the brake caliper. Once the caliper is removed, I can slide the old brake pads out of place.
- Install New Pads: I then slide the new brake pads into place. When installing new pads, it’s important to ensure they’re positioned correctly. I make sure they are seated properly in the caliper bracket.
- Reassemble the Brake Components: Once the new pads are in place, I carefully reattach the brake caliper and secure it with bolts. I also make sure that all bolts are tightened to the manufacturer’s specifications.
After replacing the brake pads, I reassemble the rest of the components, put the wheel back on, and lower the car. It’s always a good idea to check the brake fluid level after replacing the pads, as the brake fluid may need to be topped off.
5. Test the Brakes
After completing the repair, I always make sure to test the brakes before getting back on the road. I do this by driving slowly and applying the brakes gently. I listen for any signs of squeaking, grinding, or other unusual sounds. If everything sounds normal and the brakes feel responsive, I know the repair was successful.
However, if the squeak continues, it could be due to other factors, such as glazed brake pads or rotor damage. If this is the case, I recommend taking the car to a professional mechanic for further inspection.
If you encounter any issues during your repair or don’t feel comfortable doing the work yourself, you can always contact a professional mechanic for help. If you need a reliable towing service, you can check out Rescue & Towing for fast and professional assistance.