How to Change a Flat Tire on an SUV or Truck: A Step-by-Step Guide
Having a flat tire while on the road can be frustrating, especially if you’re driving an SUV or a truck. Larger vehicles often come with more challenges when it comes to changing a flat tire, but don’t worry—it's something anyone can handle with the right tools and a little bit of patience. I’ve been there before, and over the years, I’ve learned how to change a flat tire on my SUV with ease. Let me walk you through the entire process from start to finish, so the next time you encounter a flat, you’ll be ready.

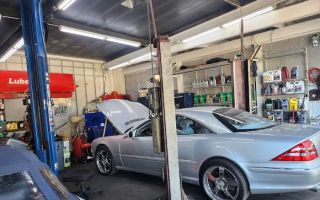
MR. TIRE INC.
2078 New York Ave, Huntington Station, NY 11746, USA
1. Preparing for the Job: What You Need
Before you even think about getting started, it’s important to make sure you have the proper tools and equipment on hand. For me, I always make sure I have these essentials in my truck at all times:
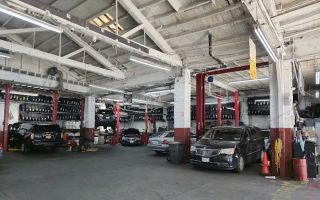
MR. TIRE INC.
2078 New York Ave, Huntington Station, NY 11746, USA
1.1 A Spare Tire
First and foremost, you need a spare tire. It might seem like an obvious requirement, but I’ve heard of people who have forgotten to check their spare or, worse, found it to be flat as well. Make sure your spare is properly inflated and in good condition. Depending on the size of your SUV or truck, the spare will likely be a full-size or compact tire, but either one should do the job in an emergency.
1.2 A Jack
To lift your vehicle off the ground, you’ll need a jack. Most SUVs and trucks come equipped with a standard scissor or hydraulic jack, but if you’re using a scissor jack, be prepared for a little more effort. Hydraulic jacks tend to be much faster and easier to use, especially on larger vehicles. I always keep a heavy-duty jack in my truck because I know I’m dealing with a lot of weight when I need to lift my vehicle.
1.3 Lug Wrench
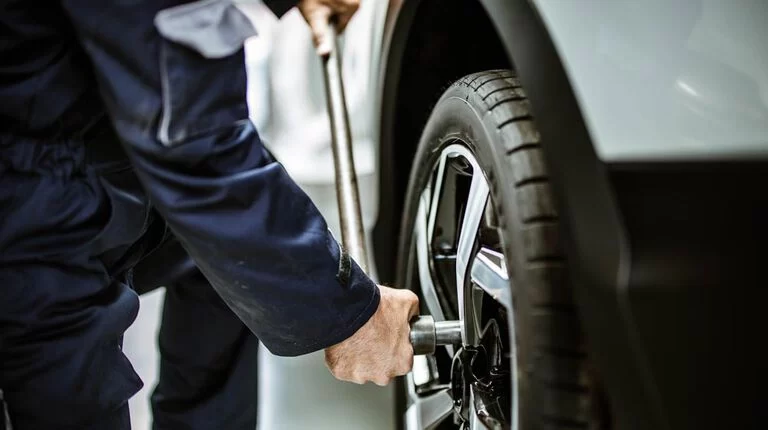
A lug wrench is necessary to remove the lug nuts that secure your tire. Most trucks and SUVs come with a standard wrench, but I’ve found that a cross-shaped lug wrench or a breaker bar gives me more leverage, making the job easier. Trust me, it’s a lot less tiring when you’ve got the right tool.
1.4 Wheel Chocks
It’s easy to forget wheel chocks, but they’re crucial for safety. These little blocks of rubber or wood go behind your wheels to prevent your vehicle from rolling while it’s elevated. I never skip this step, as it only takes a few seconds but provides peace of mind.
1.5 Flashlight
If you’re changing a tire at night or in poor lighting conditions, a flashlight is an absolute must. There’s nothing worse than struggling with the task in the dark. Make sure your flashlight is fully charged before you go out, or keep spare batteries in your truck.
2. Step-by-Step Guide: Changing the Flat Tire
Now that you’re prepared with all the necessary tools, let’s get started. I’ve broken down the process into simple steps so you can follow along without feeling overwhelmed. Here’s how I approach changing a flat tire on my SUV:
2.1 Find a Safe Location
Safety is always my first priority. The moment I realize I have a flat tire, I make sure to pull over to a safe location. If I’m on the highway, I try to get off the road and onto a shoulder or parking lot. I always turn on my hazard lights as soon as I pull over, so other drivers know I’m dealing with an emergency. It’s always a good idea to keep some reflective triangles or flares in your vehicle for extra safety.
2.2 Loosen the Lug Nuts
Before you jack up your vehicle, it’s important to loosen the lug nuts. It might sound counterintuitive, but loosening them while the tire is still on the ground helps prevent the vehicle from shifting when you start to jack it up. I use my lug wrench to turn the nuts counterclockwise, but I don’t remove them completely just yet—just loosen them enough so they’re easy to remove once the vehicle is lifted.
2.3 Lift the Vehicle
Next, I position the jack underneath the vehicle. On most trucks and SUVs, there are designated jacking points—typically indicated by a reinforced area along the frame. I always make sure I’m placing the jack correctly to avoid damaging the vehicle. Once I’m confident it’s in the right position, I start lifting the vehicle. I slowly raise it until the flat tire is completely off the ground. If I’m using a hydraulic jack, the process is pretty quick. If you’re using a scissor jack, be patient—this may take a little longer.
2.4 Remove the Lug Nuts and Flat Tire
Once the vehicle is lifted, I finish removing the loosened lug nuts. I like to keep them in a safe spot, like the hubcap, so they don’t roll away. After that, I carefully remove the flat tire. I always take a moment to inspect the tire to make sure there’s no other damage that might make it unfit for repair. At this point, the flat tire is off, and the process of replacing it with the spare can begin.
2.5 Install the Spare Tire
Now, it’s time to mount the spare tire. I carefully align the tire with the wheel bolts and slide it onto the hub. Once the tire is in place, I hand-tighten the lug nuts onto the bolts. I don’t tighten them all the way yet—just enough to hold the tire in place while I lower the vehicle.
2.6 Lower the Vehicle
Once the spare tire is mounted, I slowly lower the vehicle back to the ground using the jack. I take my time with this step, ensuring that the vehicle is stable and that there’s no shifting. Once the vehicle is fully lowered, I remove the jack from underneath the vehicle and double-check that the tire is properly seated.
2.7 Tighten the Lug Nuts
With the vehicle securely on the ground, I use my lug wrench to tighten the lug nuts fully. I always work in a star pattern, meaning I tighten the nuts across from each other in a criss-cross pattern. This ensures that the tire is secured evenly. I make sure the lug nuts are as tight as I can get them to avoid any issues when driving.
2.8 Final Checks and Clean Up
Before I finish, I always give the tire one last inspection to make sure it’s securely mounted. I double-check the lug nuts and the condition of the spare. If everything looks good, I store my tools back in the vehicle, ensuring the flat tire is placed safely in the trunk. Finally, I check the pressure of the spare tire, just to make sure it’s properly inflated. I make a mental note to get my flat tire repaired or replaced as soon as possible.
3. Tips for Preventing Flat Tires
While changing a flat tire is an important skill to have, it’s always better to avoid getting a flat in the first place. Here are a few tips I follow to reduce the chances of having a flat tire:
3.1 Regularly Check Tire Pressure
One of the simplest things you can do to avoid a flat is to keep your tires properly inflated. I make it a habit to check the tire pressure at least once a month, especially before long trips. Low tire pressure can make your tires more susceptible to blowouts and flats.
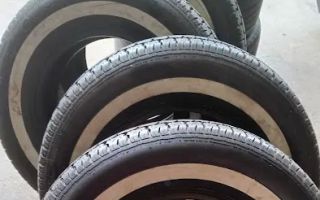
3.2 Inspect Tires for Damage
I always inspect my tires for signs of damage, such as cuts, punctures, or bulges. If I notice anything unusual, I make sure to get the tire checked by a professional. Catching a problem early can prevent a flat from happening unexpectedly.
3.3 Rotate Tires Regularly
Regular tire rotations help ensure that your tires wear evenly, which can extend their lifespan and reduce the likelihood of a flat. I rotate my tires every 6,000 to 8,000 miles to keep them in good condition.
4. When to Call for Towing Assistance
While changing a flat tire can be easy enough with the right tools and a little know-how, sometimes things don’t go as planned. If you’re stuck in an unsafe area, don’t feel comfortable doing the job yourself, or if you’re dealing with more complex tire damage, it might be time to call for towing assistance. In these cases, having a reliable towing company on hand can be a lifesaver.