How to Change a Flat Tire: A Step-by-Step Guide for Car Owners
- Step 1: Gather Your Tools
- Step 2: Safely Position the Vehicle
- Step 3: Lift the Car with a Jack
- Step 4: Remove the Flat Tire
- Step 5: Install the Spare Tire
- Step 6: Lower the Vehicle and Tighten the Lug Nuts
- Additional Tips and Safety Precautions
Step 1: Gather Your Tools
Before you start changing your flat tire, it's important to make sure you have all the necessary tools at hand. You’ll need a spare tire, a jack, a lug wrench, and some basic safety gear such as gloves and reflective vests. It’s also a good idea to have a flashlight in case you’re changing the tire at night. If you don't have a spare tire in your car, consider purchasing one from a reliable towing service or your local auto parts store.
Step 2: Safely Position the Vehicle
When dealing with a flat tire, safety should always come first. First, find a safe, flat area to pull over. Avoid busy roads, steep hills, or areas with heavy traffic. Once you’ve stopped, turn on your hazard lights to alert other drivers. Then, apply the parking brake to prevent the car from rolling while you work. If you’re on a slope, place a rock or other object behind the opposite tire to act as a safety block.
Step 3: Lift the Car with a Jack
Now that your vehicle is safely positioned, it’s time to use the jack to lift the car off the ground. Locate the jacking point, which can be found in the car’s manual. Most vehicles have a designated area near the wheel that is reinforced for the jack. Place the jack underneath the vehicle, ensuring that it’s positioned properly before lifting. Begin raising the car slowly, making sure the tire is off the ground enough for you to remove it easily.
Step 4: Remove the Flat Tire
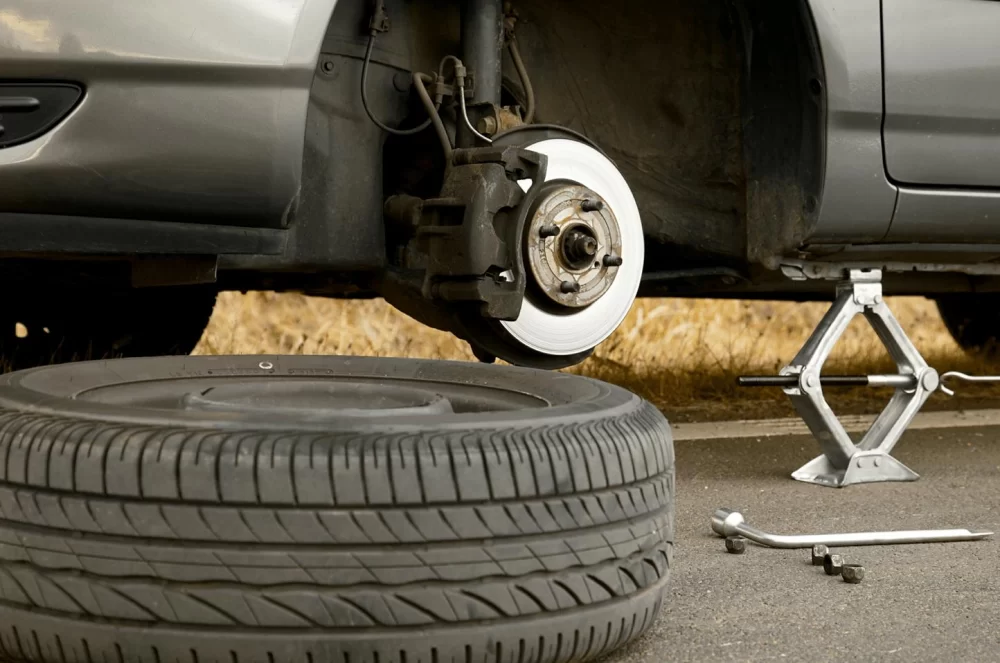
Once the vehicle is lifted, it’s time to remove the flat tire. Use the lug wrench to loosen the lug nuts that secure the tire to the wheel hub. Turn the wrench counterclockwise until the nuts are loose enough to remove by hand. Once all the nuts are off, carefully pull the flat tire away from the wheel hub. If you’re struggling to remove the tire, you may need to give it a gentle kick to loosen it.
Step 5: Install the Spare Tire
Now that the flat tire is off, it’s time to put the spare tire in place. Lift the spare tire onto the wheel hub, aligning it with the holes for the lug nuts. Once it’s in place, hand-tighten the lug nuts onto the bolts to hold the tire in position. Be sure not to tighten them all the way just yet – you’ll do that once the vehicle is lowered back down to the ground.
Step 6: Lower the Vehicle and Tighten the Lug Nuts
Now, it’s time to lower the car back to the ground. Slowly lower the vehicle using the jack until the spare tire is fully supporting the car. Once the car is stable, use the lug wrench to tighten the lug nuts in a crisscross pattern. This ensures that the tire is evenly secured to the wheel hub. Double-check that all the nuts are tightened properly before removing the jack from underneath the vehicle.
Additional Tips and Safety Precautions
Changing a flat tire is a straightforward process, but it’s important to stay safe and take your time. If you ever feel uncomfortable with changing the tire yourself, don’t hesitate to call a professional towing service. Some key safety tips include:
- Ensure the vehicle is on a flat surface and turn on your hazard lights.
- Never place any part of your body under the vehicle while it’s lifted.
- If you have roadside assistance through your insurance, contact them for help.
Changing a flat tire is a useful skill for any car owner to have. By following these simple steps, you can get your vehicle back on the road quickly and safely. However, if you find yourself in a situation where you're unable to handle the job, it’s always wise to contact a professional towing service for assistance. Explore more options with Rescue & Towing for all your car needs.


