How to Fix a Flat Tire on the Highway: A Step-by-Step Guide for Drivers
There’s nothing quite as stressful as getting a flat tire while driving on the highway. It’s one of those moments when everything slows down, and you realize you need to act quickly, but you also need to stay calm. A flat tire isn’t the end of the world, though. With the right knowledge, a little preparation, and the right tools, you can change a flat tire on the highway without too much trouble.

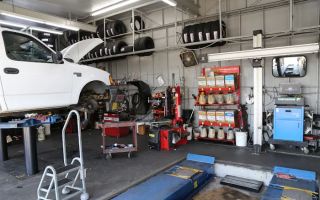
MR. TIRE INC.
2078 New York Ave, Huntington Station, NY 11746, USA
1. Stop Safely and Assess the Situation
The first step in handling a flat tire on the highway is to ensure your safety and the safety of others around you. If you’re driving on a busy road, it's essential to pull over as safely as possible. Here’s what I typically do:
- Slow down and signal early so other drivers know you’re pulling over.
- Look for a safe spot, preferably a flat area away from traffic. An emergency lane or a wide shoulder is ideal.
- Turn on your hazard lights as soon as you pull over. This warns other drivers that your car is stopped.
- Apply the parking brake to prevent the car from rolling.
2. Gather the Necessary Tools
Before you begin, make sure you have everything you need for the job. This is why I always check my vehicle’s emergency kit and make sure it’s fully stocked. You should have the following items:
- Spare tire (always check its air pressure before long trips)
- Jack (make sure it’s the correct one for your vehicle)
- Lug wrench
- Wheel wedges
- Flashlight (especially if you're dealing with the tire in the dark)
- Gloves (for protection from dirt and sharp edges)
- Owner’s manual (in case you need specific instructions for your car)
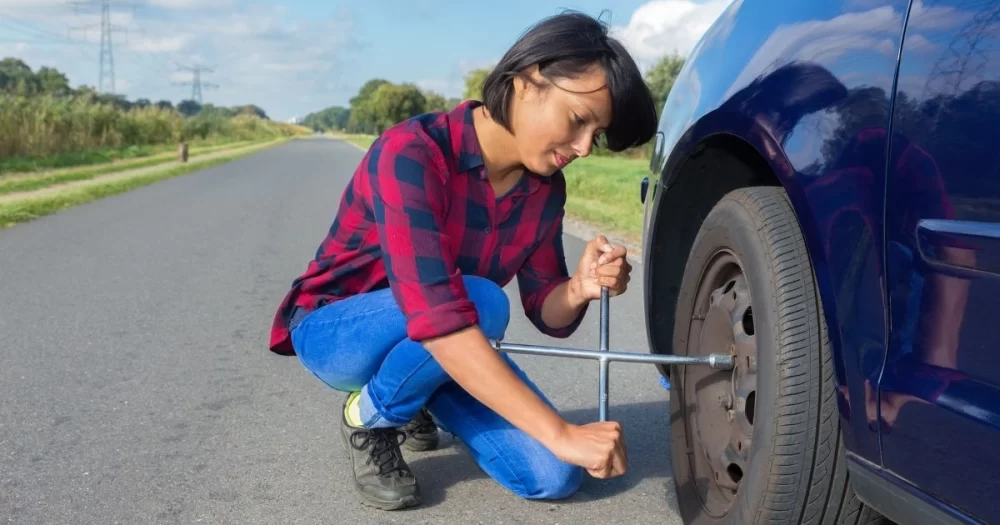
3. Loosen the Lug Nuts
Once you've made sure your car is secure, it's time to start the actual tire change. I always begin by loosening the lug nuts on the flat tire. Here’s a simple way to do it:
- Use the lug wrench to turn the lug nuts counterclockwise. You don’t need to remove them completely yet, just loosen them enough so they can be taken off easily once the car is lifted.
- Work in a star pattern when loosening the nuts to ensure even pressure distribution across the wheel.
4. Lift the Vehicle with the Jack
Now it’s time to lift the car off the ground so the flat tire can be removed. Place the jack under the vehicle’s jacking point (usually indicated in the owner’s manual). Here's how to do it:
- Position the jack so it’s stable, making sure it’s not on loose gravel or an uneven surface.
- Slowly begin lifting the car. You only need to raise it high enough for the flat tire to be off the ground, so you can remove the lug nuts and take the wheel off.
5. Remove the Flat Tire
With the car elevated, you can now fully remove the lug nuts and take the flat tire off. To do this:
- Finish removing the loosened lug nuts completely.
- Carefully pull the flat tire off the wheel hub. It might take a little wiggling, but it should come off with some effort.
6. Install the Spare Tire
Now, it’s time to install your spare tire. Here’s the process:
- Place the spare tire onto the wheel hub, making sure the holes align with the lugs.
- Put the lug nuts back on, but don’t tighten them all the way just yet.
- Once all the nuts are on, lower the vehicle slowly using the jack until the spare tire makes contact with the ground. Be careful not to let the car drop too quickly.
7. Tighten the Lug Nuts
Now that the car is back on the ground, it’s time to tighten the lug nuts properly. This is where a lot of people make mistakes, either by not tightening enough or over-tightening. I do it in the star pattern once again, tightening each nut a little at a time to ensure an even fit. It’s critical to do this properly to avoid any issues on the road.
MR. TIRE INC.
2078 New York Ave, Huntington Station, NY 11746, USA
8. Check the Spare Tire's Pressure
Before you hit the road, check the air pressure in the spare tire. A spare tire can lose air over time, and driving on an underinflated spare isn’t safe. Make sure it’s properly inflated according to your vehicle’s specifications.
9. Clean Up and Get Back on the Road
Once everything is tightened and checked, pack up your tools and the flat tire. Make sure your area is clear, then get back in your vehicle. Be cautious as you drive, especially if you're on a temporary spare. Temporary spares are not designed for long-distance driving or high speeds, so keep an eye on your speed and get the flat tire repaired as soon as possible.
10. What to Do if You Can’t Change the Tire Yourself
Sometimes, despite your best efforts, you might find yourself unable to change the tire—either because you're not comfortable doing it, or you don’t have the right tools. In such cases, it’s important to know when to call for professional help. Many roadside assistance services, such as AAA or local towing companies, can send someone to help you change the tire. If you don’t have a roadside assistance membership, some companies offer pay-per-service options. Remember, it’s always better to be safe than sorry.
Whether you’re on your own or waiting for assistance, make sure to stay in the vehicle with your seatbelt on if you’re on a busy highway. It’s best to remain calm, and avoid standing near your car on the roadside.