How to Fix a Car with a Bad Head Gasket – A Step-by-Step Repair Guide
One of the most frustrating and costly problems I’ve ever faced with my car was a bad head gasket. The first signs were subtle—coolant disappearing mysteriously, white smoke from the exhaust, and an overheating engine. At first, I ignored the warning signs, thinking it was just a minor coolant leak, but as time went on, the problem worsened. Eventually, I had to face the reality that my head gasket had failed. In this guide, I’ll walk through everything I learned while diagnosing and fixing a bad head gasket, from early warning signs to possible repair solutions.

J&J Auto Repair
2879 Lockbourne Rd, Columbus, OH 43207, USA
1. Understanding What a Head Gasket Does
The head gasket is one of the most crucial components in my engine. It sits between the engine block and the cylinder head, sealing off the combustion chamber while also preventing oil and coolant from mixing. When it fails, it can lead to severe engine damage if not addressed promptly.

Lopez Auto Repair
1290 W Mound St, Columbus, OH 43223, USA
1.1 Common Causes of Head Gasket Failure
In my experience, the most common reasons for a blown head gasket include:
- Overheating: When the engine runs too hot, it can warp the cylinder head and damage the gasket.
- Coolant Leaks: A low coolant level causes the engine to overheat, leading to head gasket failure.
- Age and Wear: Over time, gaskets deteriorate due to heat and pressure cycles.
- Poor Engine Maintenance: Failing to replace old coolant or ignoring small leaks accelerates gasket failure.
2. Identifying the Symptoms of a Bad Head Gasket
Before attempting any repairs, I had to make sure my head gasket was indeed the problem. Here are the key symptoms I looked for:
2.1 Overheating Engine
One of the first signs I noticed was my engine running hotter than usual, especially on long drives.
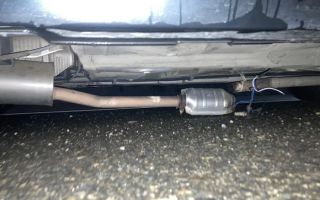
2.2 White Smoke from the Exhaust
Thick white smoke coming from the tailpipe indicated that coolant was leaking into the combustion chamber and burning.
2.3 Milky Oil on the Dipstick
When I checked my oil, I saw a milky, frothy substance instead of clean oil, meaning coolant had mixed with the oil.
2.4 Bubbles in the Radiator
With the engine running, I removed the radiator cap and saw bubbles rising, indicating exhaust gases leaking into the cooling system.
2.5 Loss of Coolant Without Any Visible Leaks
If coolant levels dropped but I couldn’t find any leaks, I suspected the head gasket was allowing coolant into the combustion chamber.
3. Temporary Fixes for a Blown Head Gasket
When I first discovered my head gasket problem, I wasn’t ready for a full repair, so I tried a few temporary solutions to keep my car running:
3.1 Using a Head Gasket Sealer
As a short-term fix, I used a liquid head gasket sealer. Here’s how I applied it:
- I let the engine cool down completely.
- I drained some coolant from the radiator to make space for the sealant.
- I poured the sealant into the radiator and started the engine.
- I let the engine idle for about 30 minutes to allow the sealant to circulate.
This solution worked for a while, but I knew it wasn’t a permanent fix.
3.2 Avoiding Hard Acceleration
To reduce stress on the engine, I avoided pushing my car too hard, keeping RPMs low and preventing further damage.
4. Performing a Full Head Gasket Replacement
After exhausting temporary fixes, I finally decided to replace the head gasket. This is a complex job, but here’s how I tackled it step by step:
4.1 Gathering the Necessary Tools
Before starting, I made sure I had:
- A new head gasket (OEM recommended)
- Torque wrench
- Socket set
- Gasket scraper
- Coolant and engine oil
- Sealant (if required)
4.2 Draining Fluids
I drained the engine oil and coolant to prevent any mess when removing the cylinder head.
4.3 Removing the Cylinder Head
This step required removing several components, including:
- Intake manifold
- Exhaust manifold
- Timing belt/chain
- Valve cover
- Head bolts (removed in sequence)
Once the head was off, I carefully inspected it for warping or cracks.
4.4 Cleaning the Surfaces
Before installing the new gasket, I used a gasket scraper to remove any old gasket material from the engine block and cylinder head.
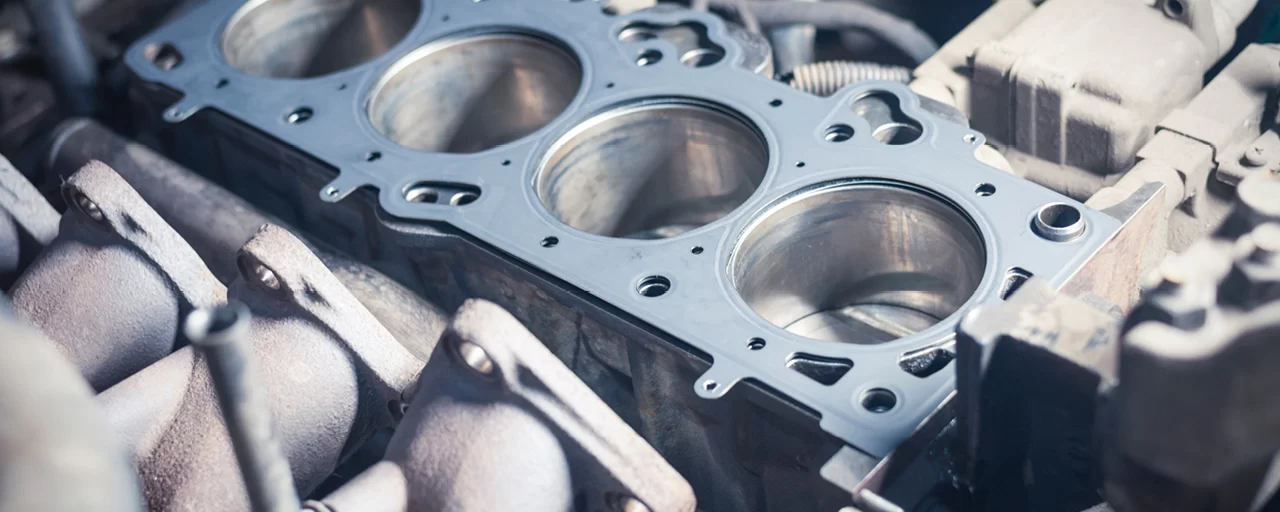
4.5 Installing the New Head Gasket
I placed the new head gasket in position, making sure it was aligned perfectly before reassembling the engine.
4.6 Reassembling and Torquing the Head Bolts
I followed the manufacturer’s torque sequence when tightening the head bolts to ensure an even seal.
4.7 Refilling Fluids and Testing
Once everything was reassembled, I refilled the coolant and engine oil, then started the engine to check for leaks.
5. Preventing Future Head Gasket Failures
To avoid going through this process again, I now take extra precautions:
- Regular Coolant Changes: I make sure my coolant is clean and topped up.
- Monitoring Engine Temperature: I never ignore an overheating engine.
- Checking for Small Leaks Early: I inspect for coolant leaks before they turn into bigger problems.
6. When to Call for Professional Help
If replacing a head gasket feels overwhelming or if the engine has severe damage, I recommend getting professional assistance. A mechanic can ensure the job is done correctly.
For emergency breakdowns, overheating, or towing needs, I always rely on Rescue & Towing. Their reliable service ensures I never get stranded with a blown head gasket.