How to Maintain Your Car’s Fluids to Prevent Breakdowns
Regularly checking your car’s fluids is essential to keeping your vehicle running smoothly and avoiding costly breakdowns. Fluids such as engine oil, transmission fluid, brake fluid, and coolant play vital roles in your vehicle’s performance, ensuring proper lubrication, cooling, and braking. Neglecting fluid maintenance can lead to severe engine damage, poor performance, or even complete system failure. This guide will show you how to check your car’s fluids and why it’s crucial for your car’s overall health.

Pick Your Part - Help Yourself
1232 Blinn Ave, Wilmington, CA 90744, USA
1. The Importance of Regular Fluid Checks
Your car’s engine and systems rely on various fluids to operate efficiently. These fluids help with lubrication, cooling, and protection, ensuring that the moving parts of your car work without unnecessary friction or heat buildup. If any of these fluids run low or become contaminated, it can result in damage to your car’s engine, transmission, or braking systems. Regular fluid checks are an easy and cost-effective way to avoid expensive repairs or dangerous breakdowns on the road.
By checking your car’s fluids at regular intervals (recommended every 3,000 to 5,000 miles for most vehicles), you can ensure that your car operates at peak performance. It’s a simple task that can save you time, money, and the inconvenience of unexpected breakdowns. Let’s go over the essential fluids you need to monitor and how to check them.

Pick Your Part - Greer
13054 E Wade Hampton Blvd, Greer, SC 29651, USA
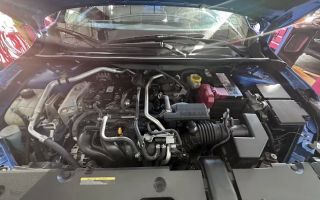
2. How to Check Engine Oil
Engine oil is arguably the most critical fluid in your car, as it lubricates the moving parts of the engine to reduce friction and prevent overheating. Running low on oil can cause engine parts to seize, leading to significant damage. Here’s how you can check the oil level in your car:
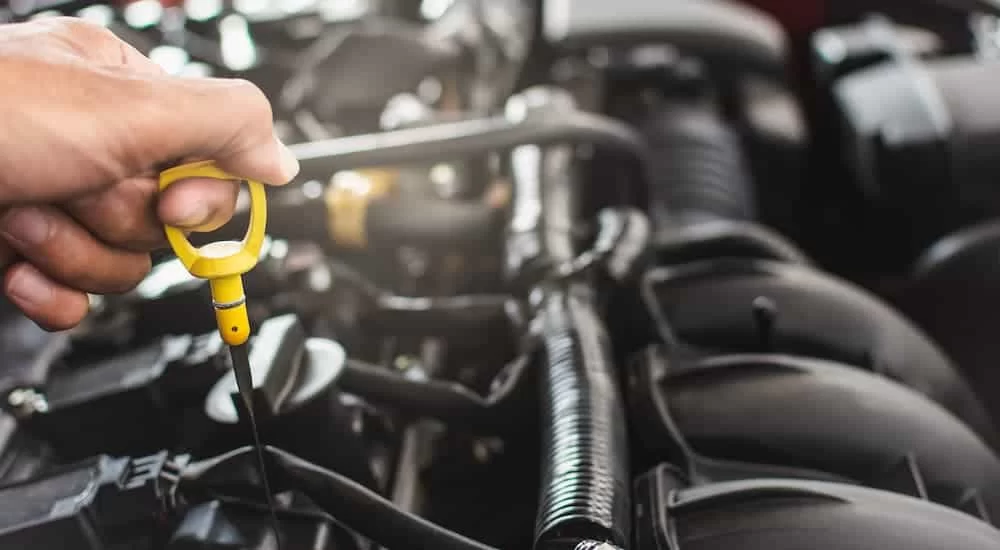
2.1 Step-by-Step Guide to Checking Engine Oil
- 1. Park Your Car on Level Ground: Make sure your car is parked on a flat surface to get an accurate reading.
- 2. Turn off the Engine and Wait: After driving, wait for about 5 minutes to allow the oil to settle in the oil pan.
- 3. Locate the Dipstick: The dipstick is typically located near the engine. It usually has a brightly colored handle, such as yellow or orange.
- 4. Pull Out the Dipstick: Wipe it clean with a rag or paper towel to remove any old oil.
- 5. Reinsert and Remove the Dipstick Again: Insert the dipstick back into its tube, then pull it out again to check the oil level.
- 6. Check the Oil Level: The oil level should be between the two marks on the dipstick. If it’s below the lower mark, it’s time to add more oil.
- 7. Inspect the Oil’s Condition: The oil should be brown or amber in color. If it appears very dark or gritty, it’s time for an oil change.
It’s a good idea to check your engine oil every month or before long trips to ensure that you don’t run into any engine issues due to low or dirty oil.
3. Checking Brake Fluid
Brake fluid is essential for your car’s braking system. It helps transmit the force from your foot on the brake pedal to the brakes themselves, ensuring that your car slows down or stops when you need it to. Low or contaminated brake fluid can lead to a loss of braking power, posing a serious safety risk. Here’s how to check the brake fluid:
3.1 Step-by-Step Guide to Checking Brake Fluid
- 1. Locate the Brake Fluid Reservoir: This is typically a small, translucent container located near the back of the engine bay, close to the master cylinder.
- 2. Inspect the Fluid Level: The fluid should be between the “MIN” and “MAX” marks on the side of the reservoir. If it’s below the minimum line, add brake fluid.
- 3. Check the Fluid’s Condition: Brake fluid should be clear or light amber in color. If it appears dark or cloudy, it may be time to flush the brake system and replace the fluid.
Brake fluid can absorb moisture over time, which can reduce braking efficiency. It’s recommended to replace the brake fluid every two years or as specified in your car’s owner manual.
4. Checking Transmission Fluid
Transmission fluid ensures the proper operation of your car’s transmission, allowing for smooth shifting and the lubrication of internal parts. Low or dirty transmission fluid can cause your transmission to overheat, slip, or fail. Here’s how to check transmission fluid:
4.1 Step-by-Step Guide to Checking Transmission Fluid
- 1. Warm up the Engine: Unlike engine oil, transmission fluid is best checked when the engine is warm, so let your car run for a few minutes before checking the fluid.
- 2. Find the Transmission Dipstick: In many vehicles, the transmission dipstick is located near the back of the engine bay. The dipstick might have a red or yellow handle.
- 3. Pull Out the Dipstick: Wipe the dipstick clean with a rag, then reinsert it fully back into its tube.
- 4. Check the Fluid Level: Remove the dipstick again and check the fluid level. It should be within the marked range. If it's low, add the appropriate transmission fluid as specified in your car’s manual.
- 5. Inspect the Fluid’s Condition: Transmission fluid should be pink or red in color. If it appears brown or has a burnt smell, it’s time for a fluid change.
Unlike oil, transmission fluid doesn’t need to be changed frequently, but it’s important to check it regularly to avoid transmission problems down the road.
5. Checking Coolant (Antifreeze)
Coolant (or antifreeze) keeps your engine from overheating by absorbing and dissipating heat. It also prevents the engine from freezing in cold temperatures. Low coolant levels or a leak can cause engine overheating, leading to serious damage. Here's how you can check the coolant:
5.1 Step-by-Step Guide to Checking Coolant
- 1. Wait for the Engine to Cool: Always check coolant levels when the engine is cool to avoid burns from hot coolant.
- 2. Locate the Coolant Reservoir: This is typically a translucent plastic tank marked with a “coolant” or “antifreeze” label, located near the radiator.
- 3. Check the Coolant Level: The coolant should be between the “MIN” and “MAX” marks on the reservoir. If it’s low, add the appropriate coolant mixture.
- 4. Inspect the Coolant’s Condition: Coolant should be bright in color, such as green, orange, or pink, depending on the type used. If it’s discolored or has debris, it may need to be flushed and replaced.
Coolant should be replaced every 30,000 miles or as per your car manufacturer’s recommendation to prevent corrosion and engine overheating.
6. Real-Life Example: How Fluid Maintenance Saved the Day
Consider the story of Mark, a driver who experienced an engine breakdown during a long road trip. Initially, Mark had no idea why the engine failed, but after having the car towed to a nearby mechanic, it was revealed that the engine oil had been dangerously low. Mark hadn’t checked his oil in over six months, and his neglect led to severe engine damage. After replacing the engine, the mechanic reminded Mark of the importance of fluid maintenance and checking levels regularly to prevent such issues. This unfortunate experience was a wake-up call, showing just how vital fluid checks are to car maintenance.
If you want to avoid such situations, make sure to regularly check your fluids, especially before taking your car on long trips. Regular maintenance can prevent major repairs and keep your car running smoothly.
If you ever find yourself needing to tow your car for repairs, visit Rescue & Towing to find reliable towing services to get your vehicle to the right place for service.